> ## Documentation Index
> Fetch the complete documentation index at: https://developers.pleo.io/llms.txt
> Use this file to discover all available pages before exploring further.
# How to Enable Vendor-Based Bookkeeping
export const RememberCallout = ({title, children, icon = "🪢"}) =>
{icon}
{title &&
{title}
}
{children}
;
export const NoteCallout = ({title, children, icon = "💡"}) =>
{icon}
{title &&
{title}
}
{children}
;
This article explains why the `bookkeeping` field returns `null` in the `/v3/export-items` response and how to enable vendor-based bookkeeping so it returns a value.
## Why bookkeeping Returns null
The `bookkeeping` field in the export items response is only populated when the **Vendor Tagging** feature is enabled and a bookkeeping method has been assigned to the expense. Without Vendor Tagging enabled, `bookkeeping` will always be `null`. This is expected behaviour, not an error.
```json theme={null}
{
"bookkeeping": null
}
```
## What to Do When bookkeeping Is null
When `bookkeeping` is `null`, use the `supplier` field on the export item for bookkeeping purposes instead. This is supported for all integrations.
See [Bookkeeping Method Resolution](/docs/current/integration-design/exports/integration-design-exports-bookkeeping-method-resolution) for how to handle the `null` case in your integration logic.
## Enable Vendor-Based Bookkeeping
### 1. Activate Vendor Tagging
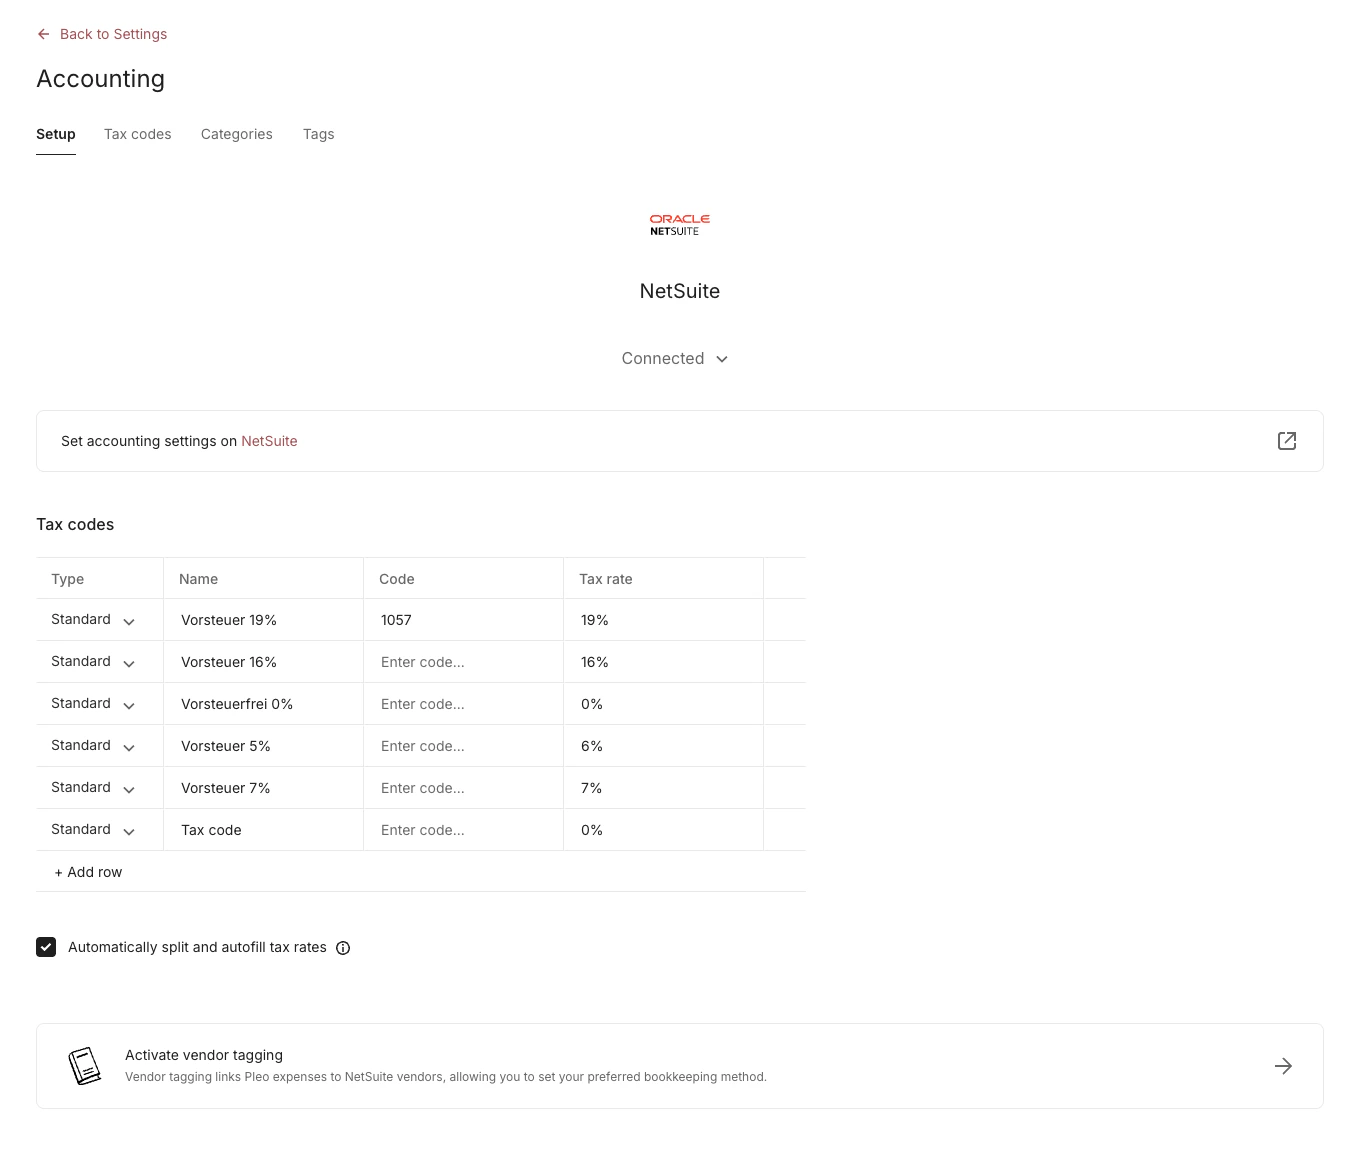
1. Click **Settings** from the main left-hand menu
2. Click **Accounting**
3. Select **Activate Vendor Tagging** at the bottom of your screen
### Vendor Tagging option not visible?
If you do not see the **Activate Vendor Tagging** option, first make sure you have at least one vendor created via the API.
**API Endpoint**: POST [`/v1/vendors`](/reference/external-vendors/create-a-new-vendor)
**Example parameters**: companyId: 12abc3d4-e567-890e-1234-abc56e78fabc
```bash theme={null}
curl --request POST \
--url https://external.staging.pleo.io/v1/vendors \
--header 'Authorization: Bearer ' \
--header 'Content-Type: application/json;charset=UTF-8' \
--data '
{
"companyId": "12abc3d4-e567-890e-1234-abc56e78fabc",
"defaultCurrency": "GBP",
"name": "TestVendor",
"code": "1234",
"country": "UK",
"externalId": "ext-1234",
"registrationNumber": "Regs-123456",
"taxRegistrationNumber": "Regstax-12345678"
}'
```
```bash theme={null}
curl --request POST \
-u "pls_cb0b832ea4ae4e3da96bc1188d60be24_41d579:" \
-H "Accept: application/json;charset=UTF-8" \
-H "Content-Type: application/json" \
"https://external.staging.pleo.io/v1/vendors" \
-d'
{
"companyId": "12abc3d4-e567-890e-1234-abc56e78fabc",
"defaultCurrency": "GBP",
"name": "TestVendor2",
"code": "1234",
"country": "UK",
"externalId": "ext-1234",
"registrationNumber": "Regs-123456",
"taxRegistrationNumber": "Regstax-12345678"
}'
```
If it is still not visible after creating a vendor, [contact Pleo Support](https://help.pleo.io/en/support/home) to
have it enabled for your account.
### 2. Select Vendor
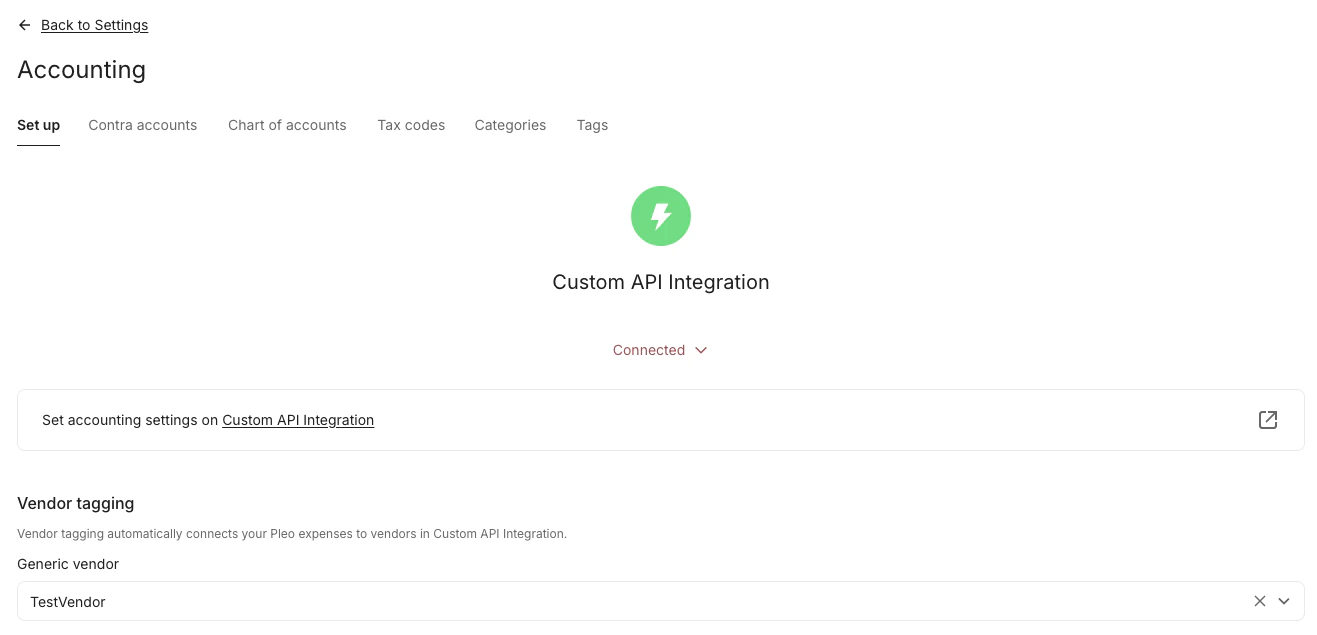
1. Click **Settings** from the main left-hand menu
2. Click **Accounting**
3. Select the **Vendor** you created via the API from the **Vendor Tagging** drop-down menu
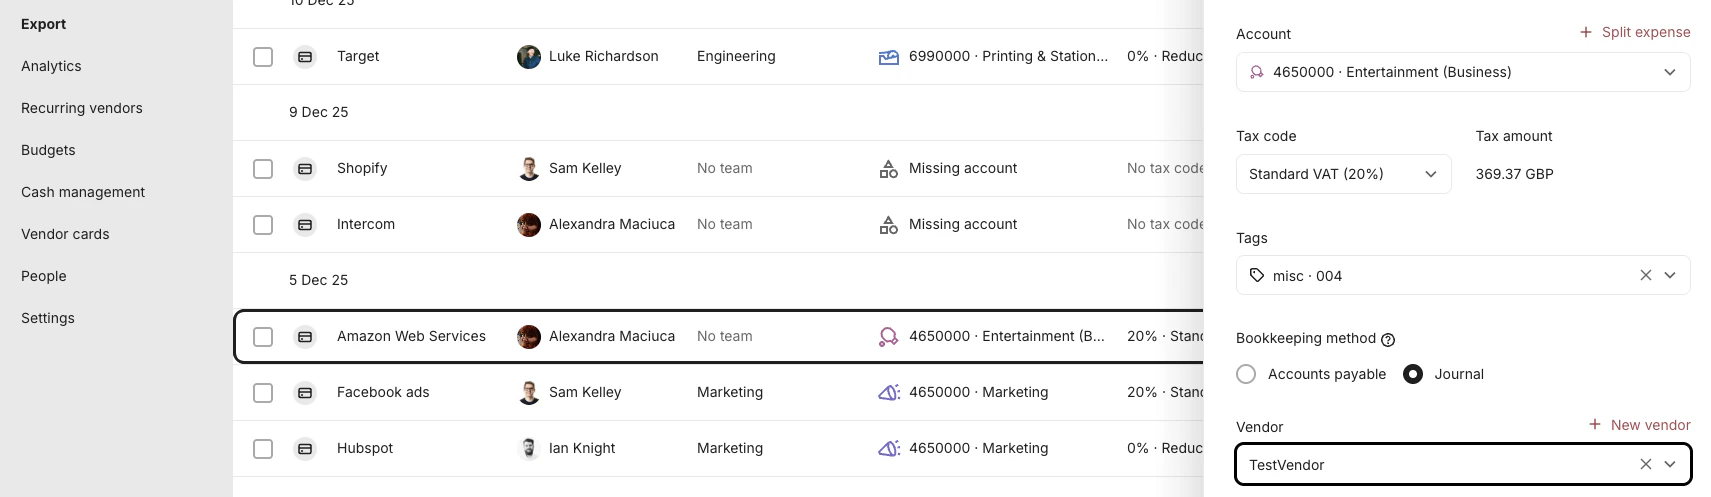
### 3. Assign bookkeeping methods to expenses
Once Vendor Tagging is active, each expense has a default bookkeeping method
assigned automatically:
* **Journal** is the default for most expenses
* **Accounts Payable** is the default for invoices
Before adding an expense to the export queue, bookkeepers can change the
assigned method if needed. This gives them the flexibility to override the
default where their accounting requirements differ.
### 4. Queue expenses and call the API
After expenses have been queued, the `bookkeeping.method` field in the
`/v3/export-items` response will return one of the following values:
| Value | Meaning |
| ------------------ | ---------------------------------------------------------------------------------- |
| `journal` | Record as a journal entry |
| `accounts_payable` | Record via the accounts payable flow |
| `none` | Record as a journal entry (used for wallet loads, unloads, and balance amendments) |
***
## Related Reading
* [Bookkeeping Method Resolution](/docs/current/integration-design/exports/integration-design-exports-bookkeeping-method-resolution)
* [How to Determine the Bookkeeping Method](/docs/current/how-tos/accounting-integrations/how-to-determine-the-bookkeeping-method-for-as-erp-processing)
* [Fetch Export Item Data](/docs/current/integration-design/exports/integration-design-exports-fetch-export-items-data-layer)
***