OAuth with Pleo
OAuth
Introduction
Pleo offers OAuth for any partner that wishes to develop an integration on behalf of Pleo customers. We have taken a standard approach to OAuth so you can find further documentation here.
Customers wishing to utilize the Pleo API to developer a bespoke integration using the Pleo API should use API keys.

Cheatsheet
Parameter | Value |
|---|---|
Authorization Endpoint | https://auth.pleo.io/oauth/authorize —or— |
Token Endpoint | https://auth.pleo.io/oauth/token —or— |
Grant Type | Authorization Code (with PKCE) |
Client Credentials |
|
Redirect URI | An OAuth client attribute. This is where the user is taken to after completing the OAuth flow. Must match exactly with the |
Scope | For testing, |
PKCE | Required, S256 only. Verifier must conform to the RFC (43–128 characters, only alphanumeric characters and |
Client Authentication |
|
Getting started
In order to begin building your OAuth solution, you will need client credentials. If you have an ongoing integration project with Pleo, your partner manager will provide you with this info.
If you do not have an active project, please reach out to [email protected]
Initiating the Authorization Request
The first step in the flow is obtaining an authorization code. The flow will need to be initiated from your application in a browser.
https://auth.pleo.io/oauth/authorize?
  client_id=<client_id>&
  redirect_uri=<redirect_uri>&
  scope=<scopes>&
  response_type=code&
  state=<state>&
  code_challenge_method=S256&
code_challenge=<code_challenge><client_id>: provided to you during app creation<redirect_uri>: must match the value you provided during app creation<scope>: the list of scopes you have access to will be determined during the app creation process. Multiple scopes can be passed as a space-separated list, for example:scope=export:read export:write<response_type>: alwayscode<state>: a string value. Should be request-specific. Will be returned back by the server on future requests. This is optional.code_challenge_method: must beS256code_challenge: must be abase64uriencodedsha256hash of acode_verifier, a secret random string (43–128 characters, only alphanumeric characters and-\_.~)), that the client will need to present later during the authorization code exchange. You MUST NOT exposecode_verifierduring the authorization request. This can be done by having a suitable random number generator create a 32-octet sequence. The octet sequence can then be base64url-encoded to produce a 43-octet URL safe string to use as a "code_challenge" that has the required entropy.
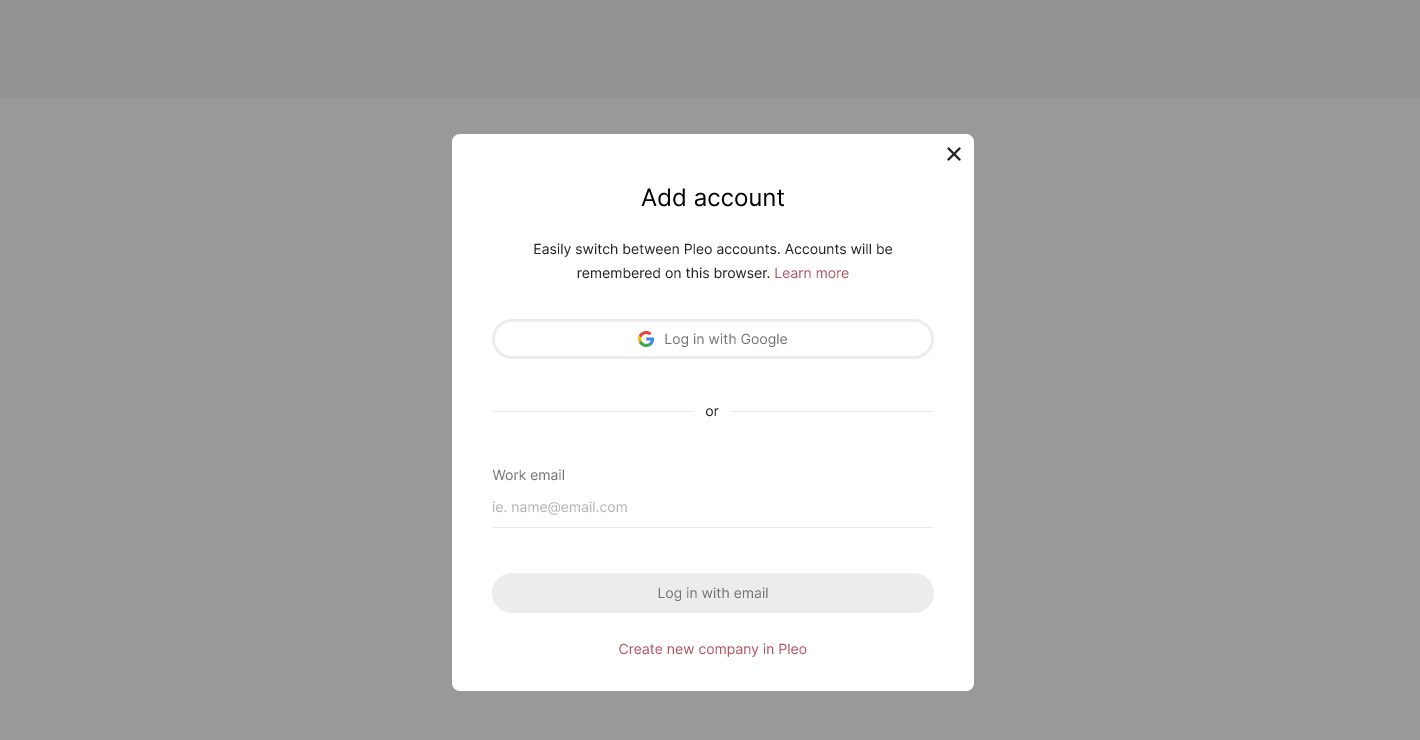
The user will then be prompted to login:
After which the user will be redirected by to the url specified in the original request containing the following in the query params:
code: the authorization which will be used to to obtain access and refresh tokens; expires after 10 minutesstate: this should match what was passed in the initial request
Getting Tokens
The authorization code obtained above is a temporary code that can be exchanged for an access and refresh token with the following request:
POST https://auth.pleo.io/oauth/token

grant_type=authorization_code&
redirect_uri=${REDIRECT_URI}&
code=${THE_CODE_FROM_ABOVE}&
code_verifier=${SOME_STRING}- Client authentication is performed using
Authorization: Basic BASE64({client_id}:{client_secret})header redirect_urimust be the same as the one used to generate the authorization code.code_verifiermust be included to verify your application originally sent the request.
A successful response will look like:
{
  "access_token": "THE_ACCESS_TOKEN",
  "token_type": "Bearer",
  "expires_in": ACCESS_TOKEN_LIFETIME, // 10 mins.
  "refresh_token": "REFRESH_TOKEN", // optional
  "scope": "scope1 scope2"
}
Store the access_token and refresh_token securely.
The expires_in field describes the lifetime of the access token, in seconds since the moment it has been issued. After specified time, it will no longer be accepted by the resource servers, and a new access token should be obtained by making a request to the token endpoint. Your application can do this by making a request to a token endpoint using the refresh token grant, as described in the next section.
A response may not contain a refresh token. In this case, after the access token expires, the only way to obtain a new access token is to go through the authorization process again.
Refresh Tokens
Once you have a refresh token, this can be used to continue obtain new short-lived access tokens:
POST https://auth.pleo.io/oauth/token

grant_type=refresh_token&
refresh_token=xxxxxxxxxxx
You must present your client_id and client_secret using Basic HTTP authentication.
As successful response will include a new access_token and a new refresh_token, which you will need to stored in replacement of the previously used refresh token:
{
  "access_token": "THE_ACCESS_TOKEN",
  "token_type": "Bearer",
  "expires_in": ACCESS_TOKEN_MILLI_LIFETIME, // 10 mins.
  "refresh_token": "REFRESH_TOKEN",
  "scope": "scope1+scope2..."
}
Token Introspection
The token introspection endpoint to return information about a token. Client authentication is performed using Authorization: Basic BASE64({client_id}:{client_secret}) header. Note that clients can only introspect tokens generated with their own client.
POST https://auth.pleo.io/oauth/token/introspect

{
    "token": "{token}"
}
A successful request will return the following response
{
	"active": true,
	"sub": "RESOURCE_ID",
	"token_type": "at+JWT",
	"exp": ACCESS_TOKEN_LIFETIME,
	"client_id": "CLIENT_ID",
	"iat": TIME_TOKEN_ISSUED,
	"aud": "https://external.pleo.io",
	"iss": "pleo.production",
	"jti": "TOKEN_ID"
}
Updated about 2 months ago