Prerequisites
Before you begin:- You have access to the Pleo Web App
- You are logged in as an Admin or Bookkeeper
Steps
1. Open Exports
Select Exports from the main left-hand navigation.2. Select expenses
Check the tickboxes next to the expenses you want to export.3. Add to Export Queue
Click Add to Export Queue at the bottom of your screen.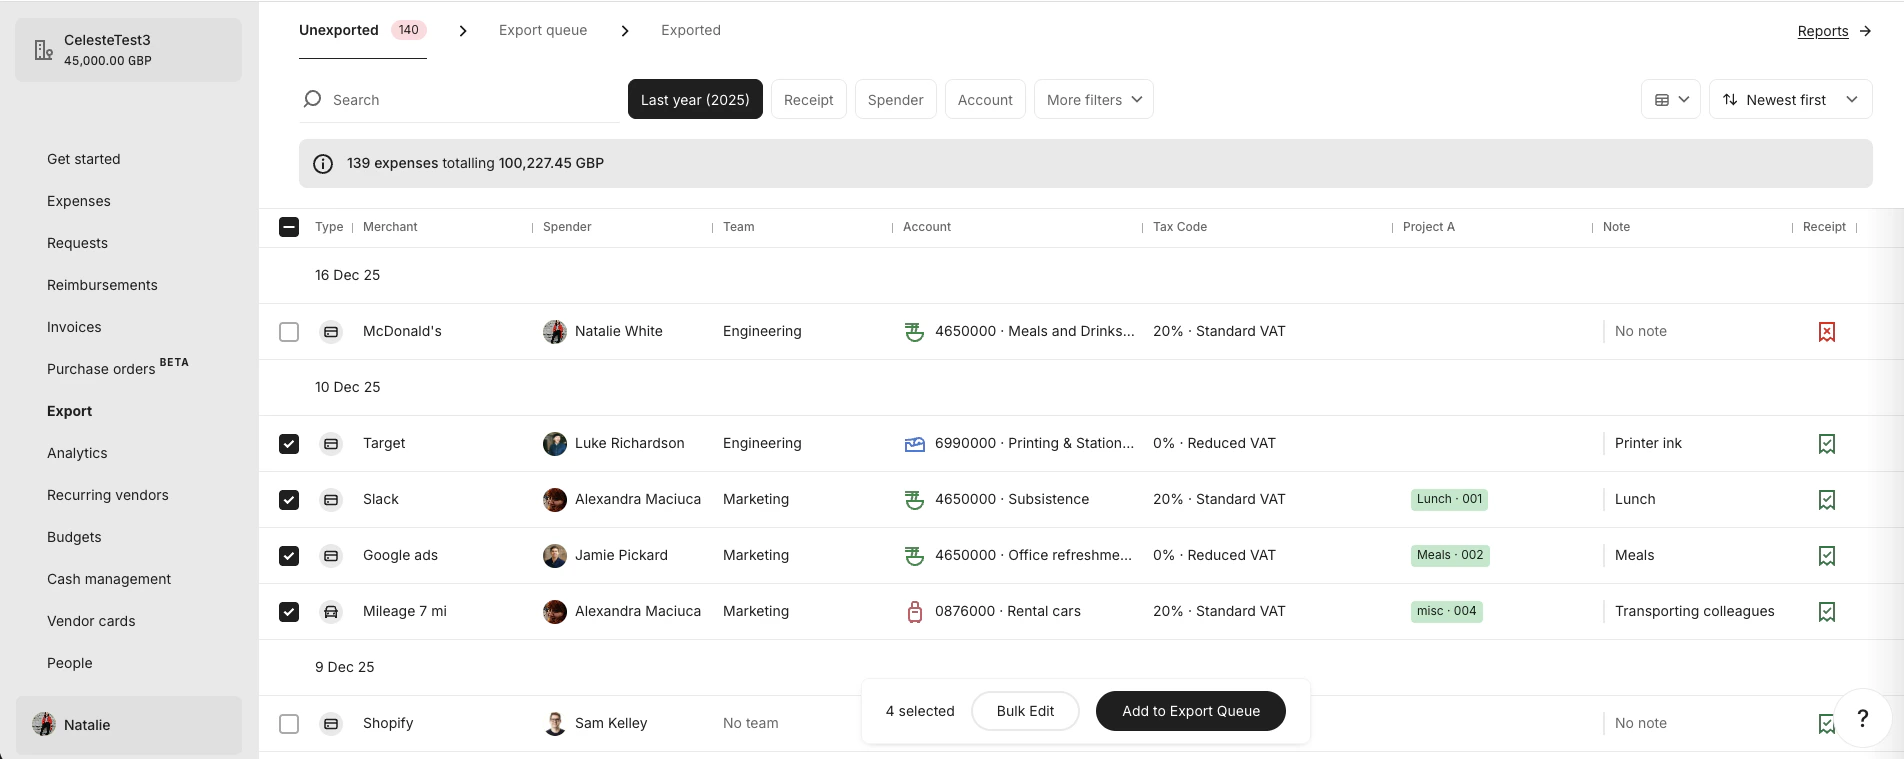
4. Open Export Queue
Click the Export Queue tab at the top of your screen.
5. Confirm queued expenses
In the Export Queue tab, select the expenses you want to include in the export.6. Create Export Job
Click Export at the bottom of your screen.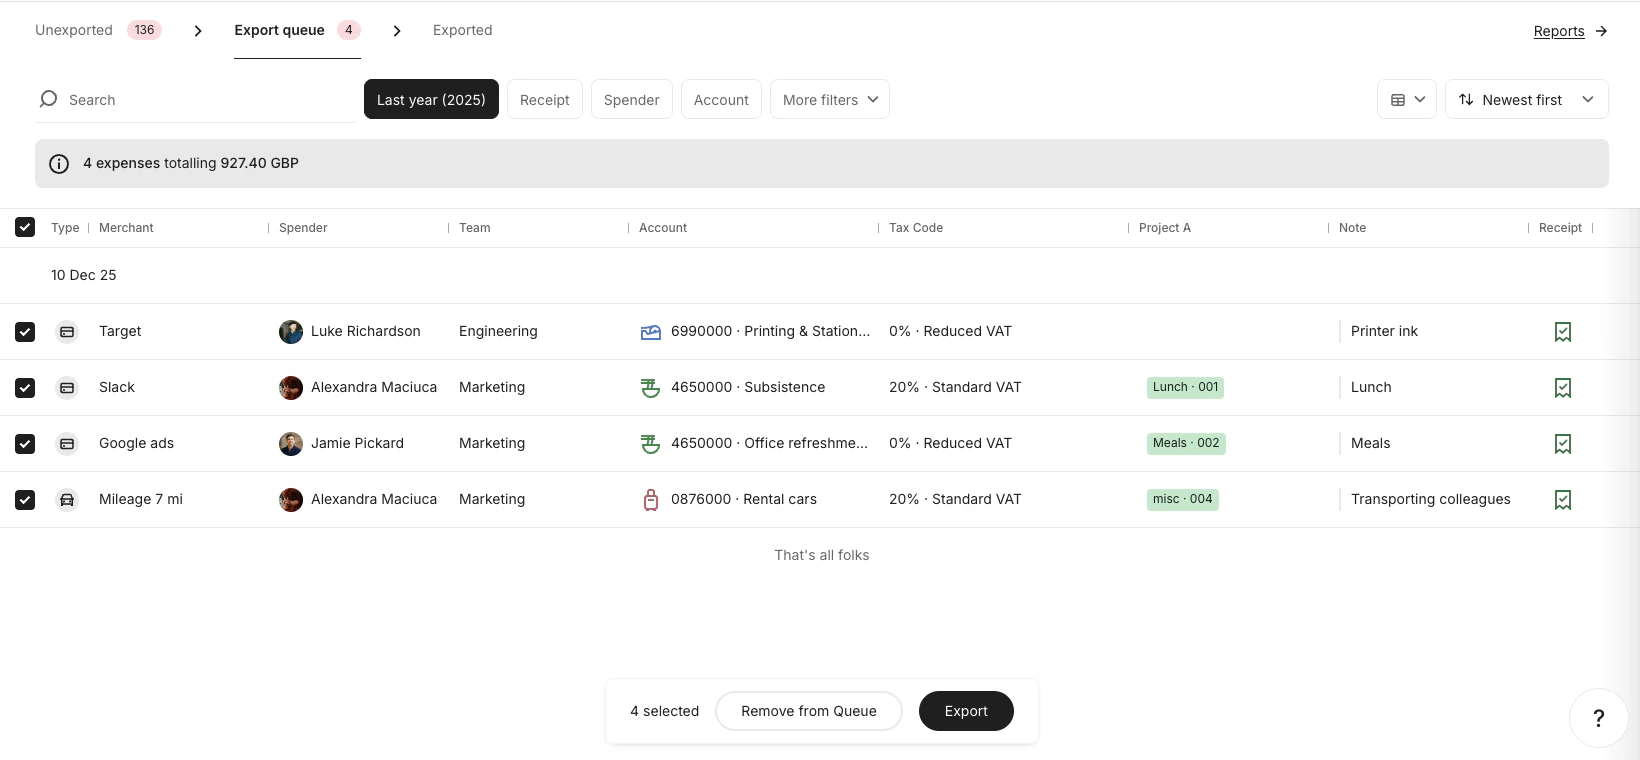
7. Export Job is created
Once you click Export:- An Export Job is created
- The selected expenses become Export Items
- These items are locked and can no longer be edited

Result
After completing these steps:- An Export Job has been created
- The selected expenses are now Export Items
- These items are available for your integration to detect and process