Prerequisites
Before you begin:- All Export Items have been processed in your AS/ERP
- All Export Item statuses have been reported to Pleo
- You have the overall result of the export (success, partial success, or failure)
Steps
1. Determine Final Outcome
Evaluate the results of all Export Items:2. Build Event Payload
All items successful3. Send Event
4. Handle Response
- Retry on transient failures
- Ensure the event is sent only once per final state
Pleo Web App
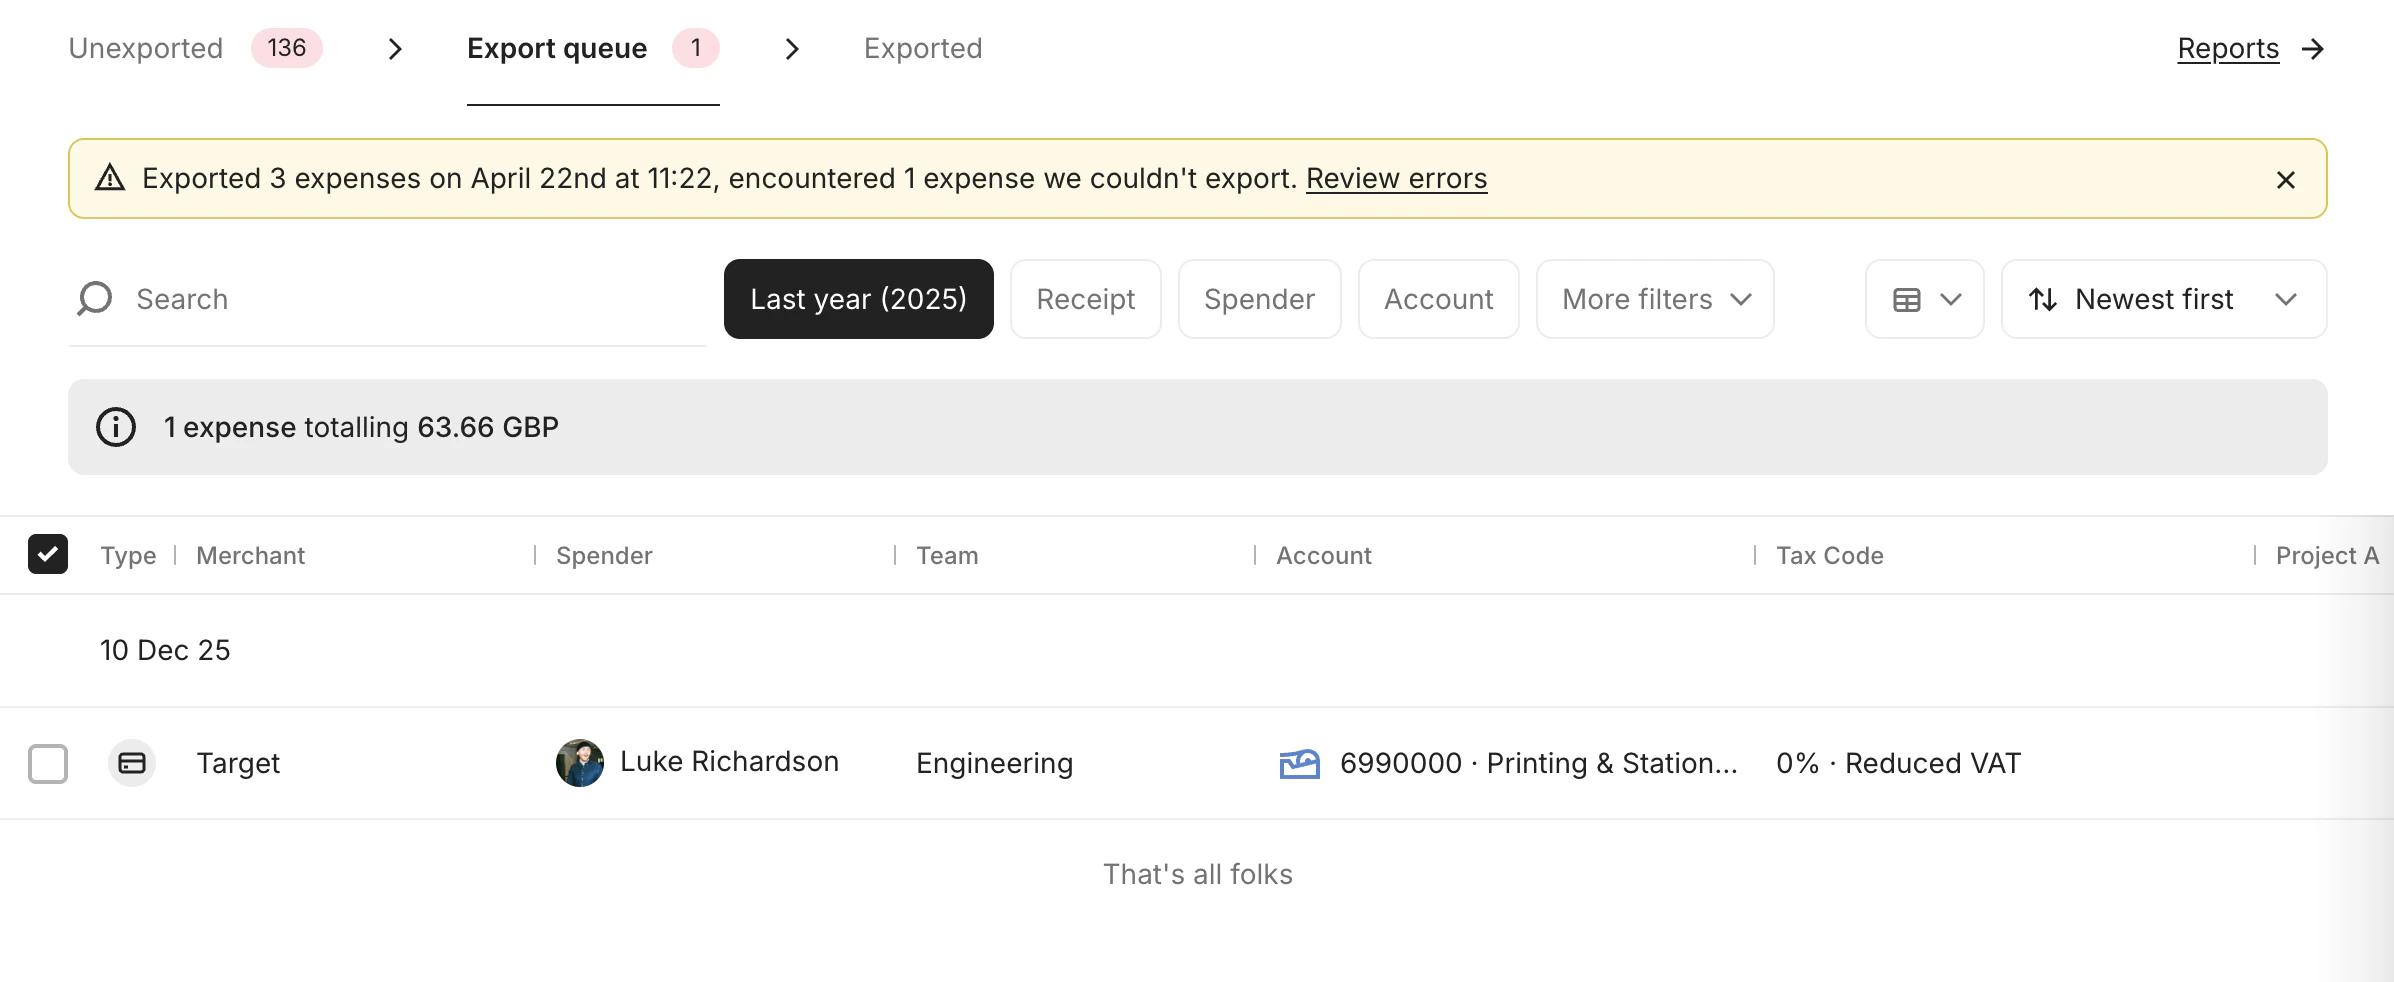
Completing the Export Job triggers the user-visible update in Pleo.- Export status is shown in the Export queue
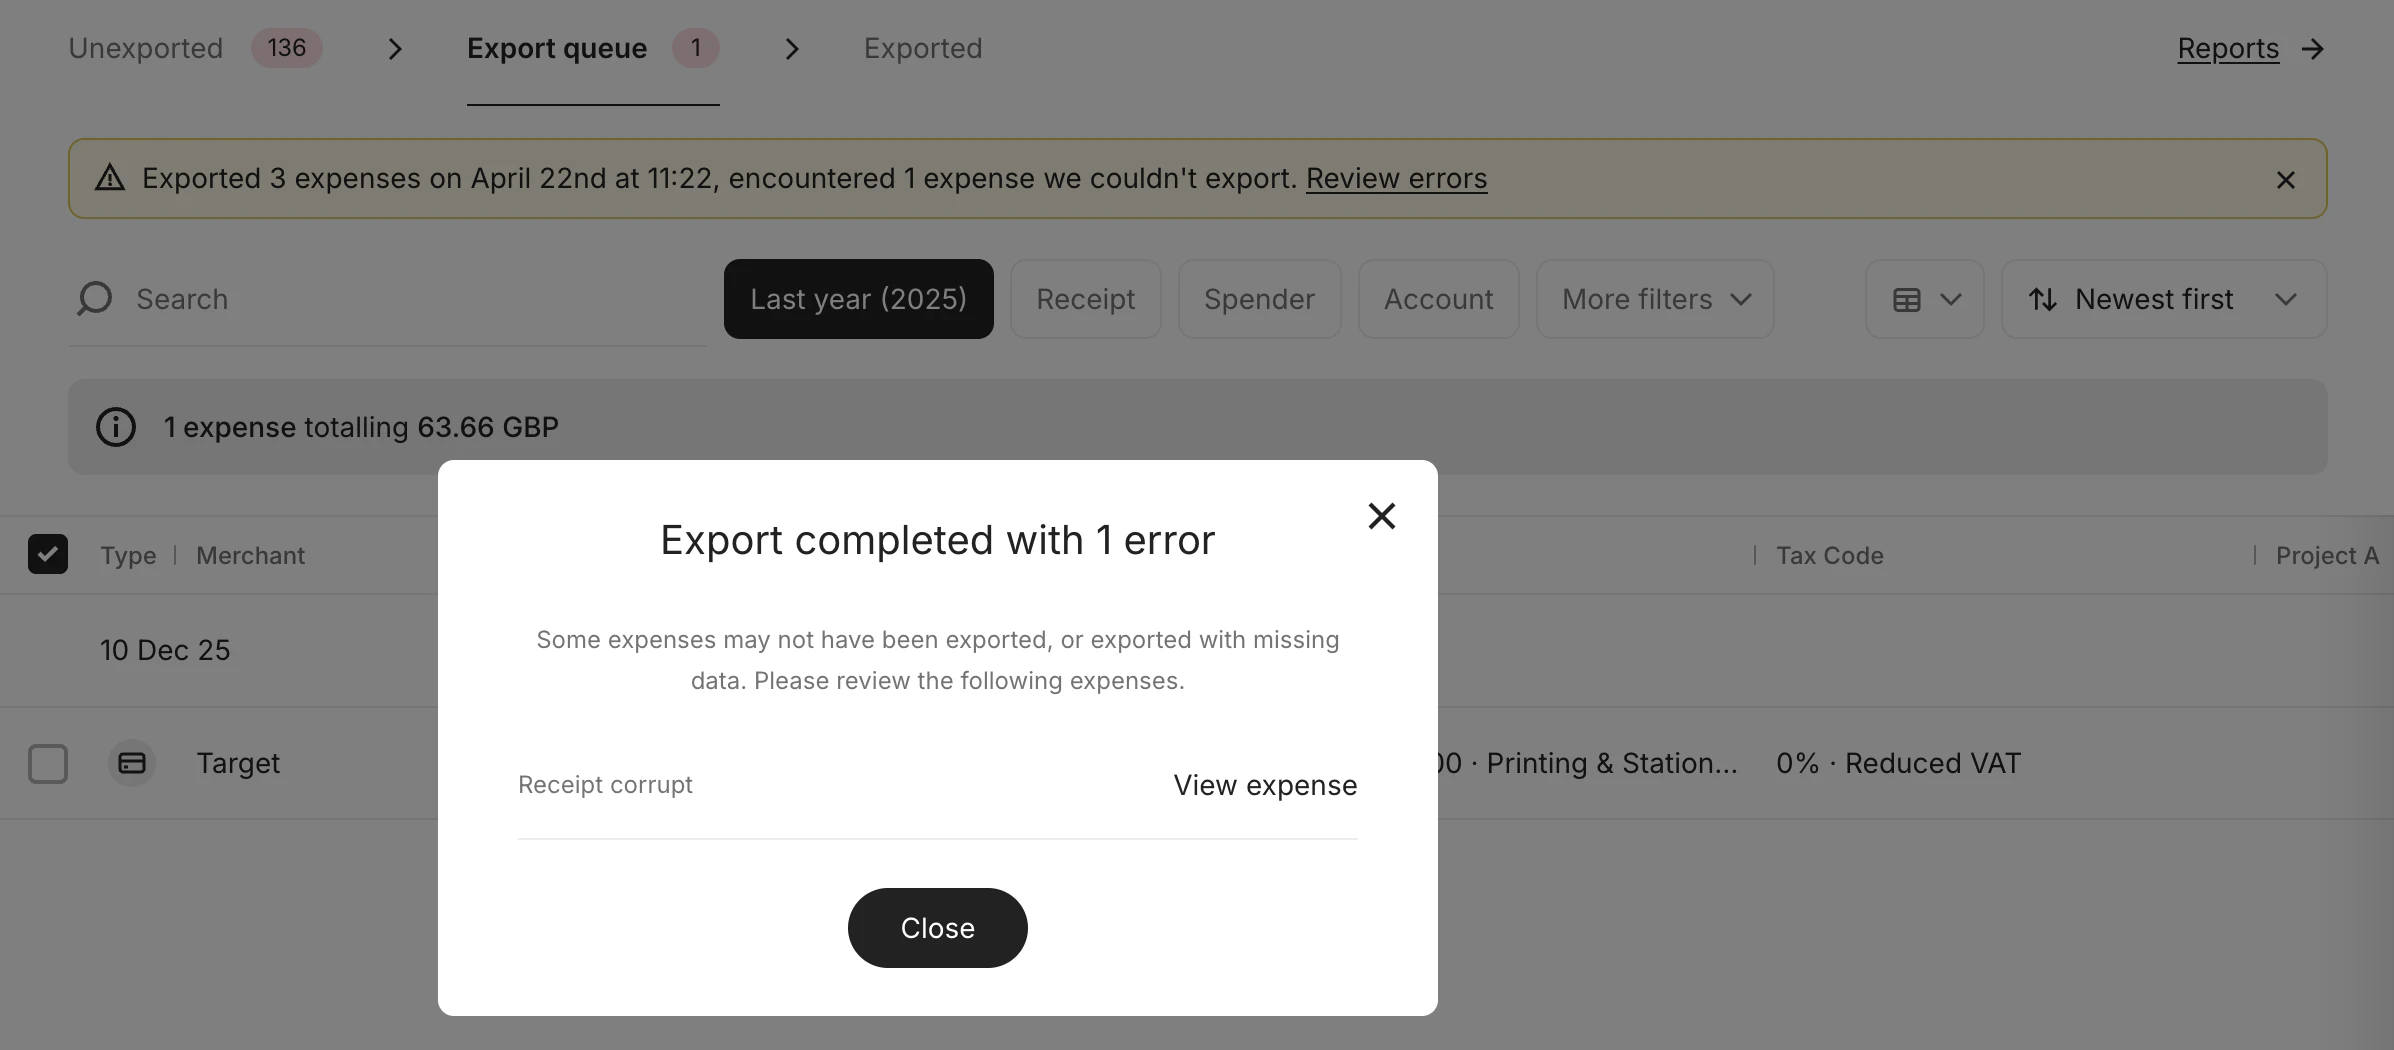
- Users can review failed items and error details
Result
After completing this step:- Pleo marks the Export Job as completed based on the submitted event (
completed,completed_with_errors, orfailed) - Export Job status is visible in the Export queue
- Export Item results (success and failure) are surfaced to users
- Failed items include error details for review and correction
- No further Export Item updates can be made for this job
What Comes Next?
this how-to is part of: