

- Retrieve active vendors from the AS
- Retrieve all Vendors (active and archived) from Pleo
- Match AS vendors to Pleo Vendors by
externalIdto determine what action is needed
Prerequisites
Before you begin:- You’re familiar with the Vendor Sync Implementation Overview and Sync Vendors
- Your integration is authenticated using one of the supported authentication methods
- Your integration can call Pleo’s Vendors API endpoints
- Your integration can call the target Accounting System’s own API to fetch active vendors
Scenario
This how-to uses a consistent example to illustrate each step. The table below shows the starting state in both systems before this sync runs.Steps
1. Retrieve Active Vendors from the Accounting System
Fetch all active vendors from the AS. Example Pseudo:Example Result
2. Retrieve All Vendors from Pleo
API Endpoint: POST/v1/vendors:search
Fetch both active and archived Vendors from Pleo. Including archived Vendors allows unarchiving rather than creating duplicates.
Filter the search to the ACTIVE and ARCHIVED states explicitly using the states field. This excludes DRAFT Vendors, which belong to the Vendor Creation flow and are not handled by Vendor Sync’s matching logic.
Example Pseudo:
Example Request
- OAuth 2.0
- API Key
Example Response
Example Result
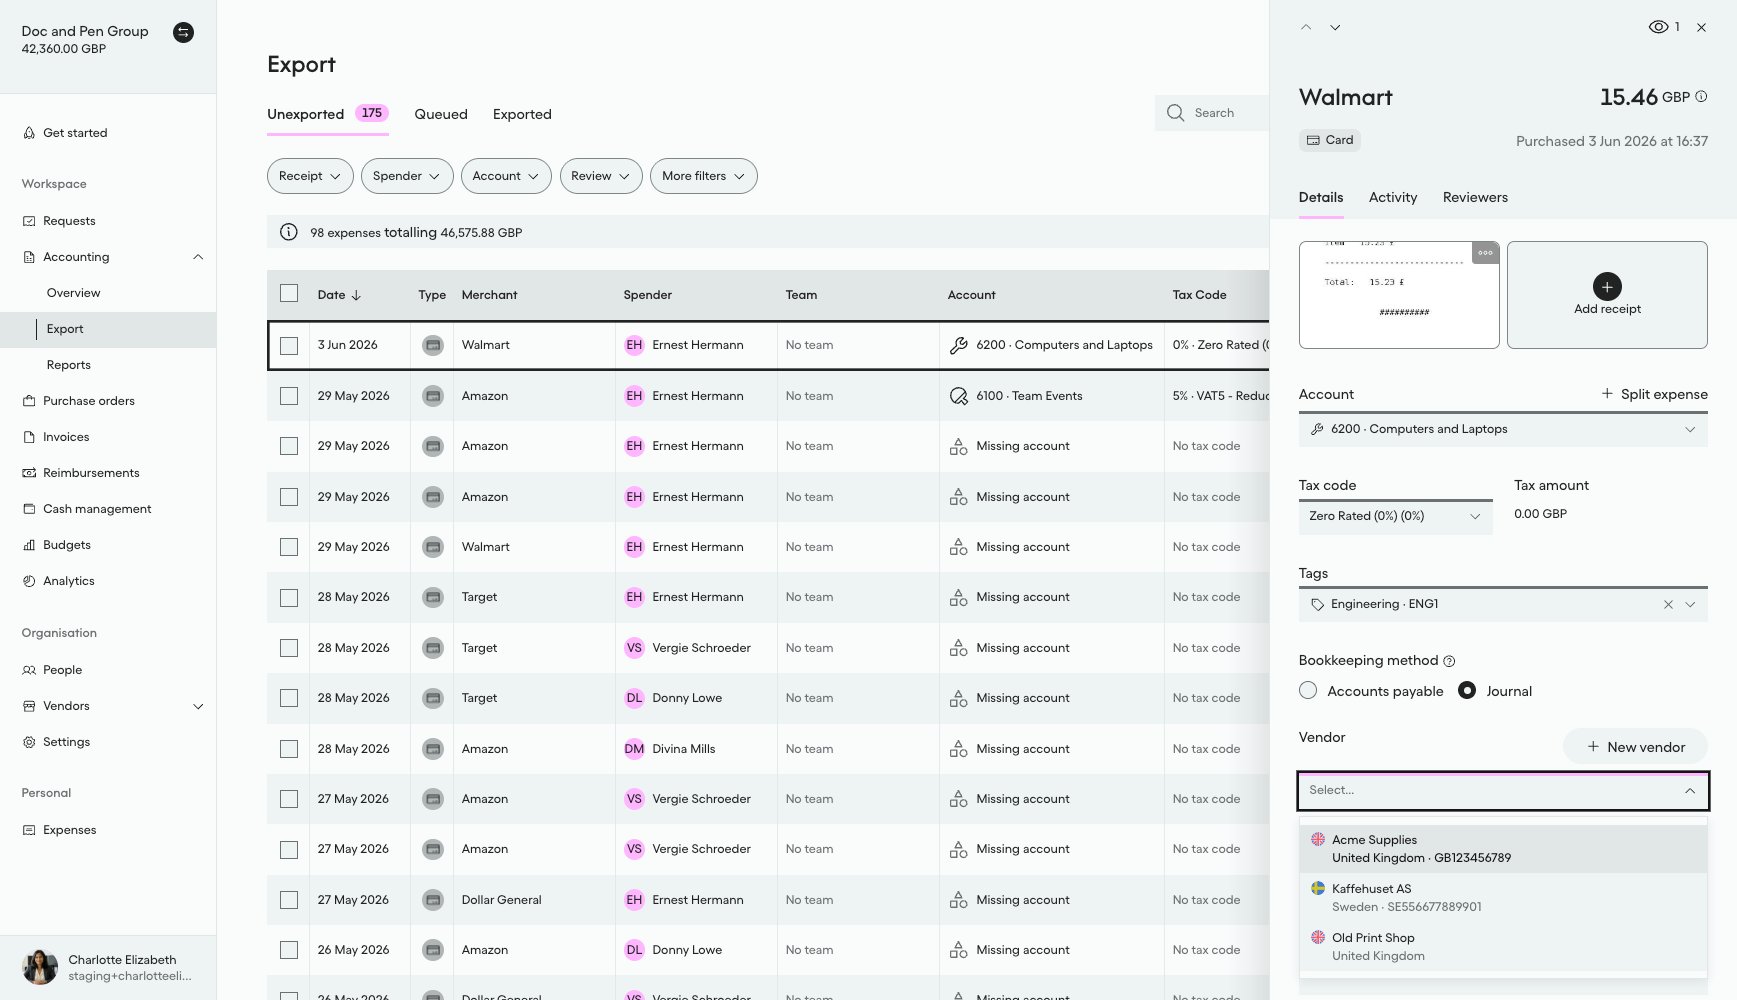
What it looks like in Pleo Web App
Pleo has no dedicated Vendors list page, so the Vendor field on an expense’s detail panel is used to confirm which Vendors are currently active and searchable:- Select Accounting from the main left-hand navigation.
- Select Export from the sub-menu.
- Click on a row to open the details panel for that expense.
- Select the Vendor drop-down menu to view active Vendors.
3. Match AS Vendors to Pleo Vendors by externalId
For each active AS vendor, attempt to find a matching Vendor in Pleo usingexternalId.
Example Pseudo:
action is executed.
Example Result
Handling Edge Cases
- Empty result set: If either fetch returns no vendors (no active vendors in the AS, or no Vendors in Pleo), the matching step has nothing to pair up. This is a normal outcome, not an error; the one-sided steps still run as normal, for example Create for every AS vendor when Pleo has none, or, when the AS has none, treating every active Pleo Vendor as unmatched for this run following the normal two-consecutive-run archive safeguard, not archiving them immediately on this single run.
- Already-active or already-archived conflicts: Matching a vendor that requires no change (Pleo already reflects the AS’s active state and details) is expected and should not be logged as a discrepancy.
What Comes Next?
this how-to is part of:
Related Reading
- How to Create Vendors
- How to Unarchive Vendors
- How to Update Vendors
- How to Archive Vendors
- Sync Vendors Integration Design
- Vendor Sync Data Mapping
- Platform Capabilities: Vendor Sync