

Prerequisites
Before you begin:- You have completed How to Create a Vendor in the AS and have the AS-assigned
externalId(andcode, if available) - Your integration is authenticated using one of the supported authentication methods
- Your integration can call Pleo’s Vendors API endpoints
Scenario
This how-to continues from the How to Create a Vendor in the AS scenario: the “Greenfield Logistics” vendor was created in the AS withexternalId: AS-VENDOR-7841 and code: 2041.
Steps
1. Activate the Vendor in Pleo
API Endpoint: POST/v1/vendors/{id}:activate
Example parameters: id: c27ed4d6-3d3d-458e-8f3f-735fdf32a3bc
Report the identifiers assigned by the AS back to Pleo. This transitions the Vendor’s state from DRAFT to ACTIVE.
Example Pseudo:
Example Request
- OAuth 2.0
- API Key
Example Response
This endpoint returns204 No Content on success. Fetching the Vendor afterwards confirms the new state:
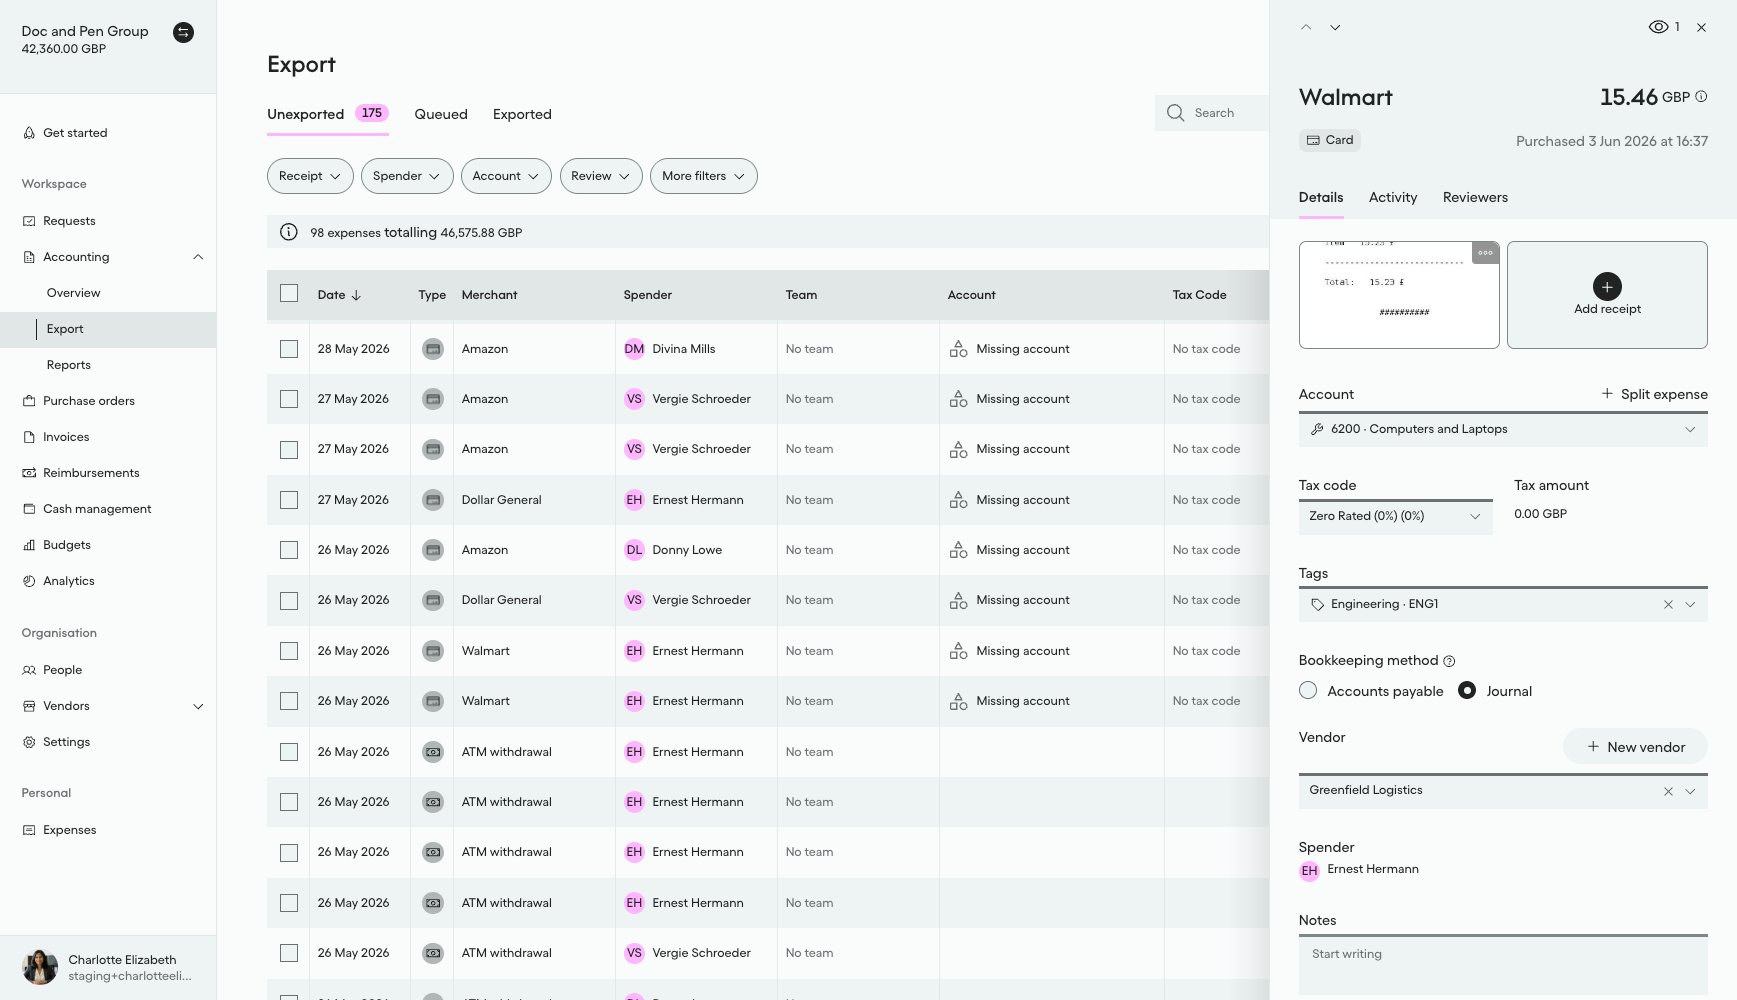
What it looks like in Pleo Web App
- Select Accounting from the main left-hand navigation.
- Select Export from the sub-menu.
- Click on the same row to reopen the details panel for the expense used in How to Create Vendors in Pleo.
Result
The table below recaps the outcome for this Vendor.
The Vendor is now activated and eligible to be matched by future Vendor Sync runs using its new
externalId. It becomes available for bookkeepers to tag on expenses and invoices, provided Vendor Tagging is enabled for the company. See How to Enable Vendor-Based Bookkeeping.
What Comes Next?
this how-to is part of:
Related Reading
- How to Create a Vendor in the AS
- Create and Activate Vendors Integration Design
- Platform Capabilities: Vendor Creation